Go Fast Camper Install
I guess I’m feeling sentimental, looking fondly back on bringing an electric truck and an overlanding camper together. The hardest part about a Go Fast Camper install when done by a professional installer like Apex Overland, is waiting for your appointment. I prepared the bed by sweeping it out, washing the back window (since I won’t be able to reach it again any time soon) and running a gasket around the tailgate from Ford’s store with some of the points they gave me when I bought the truck.


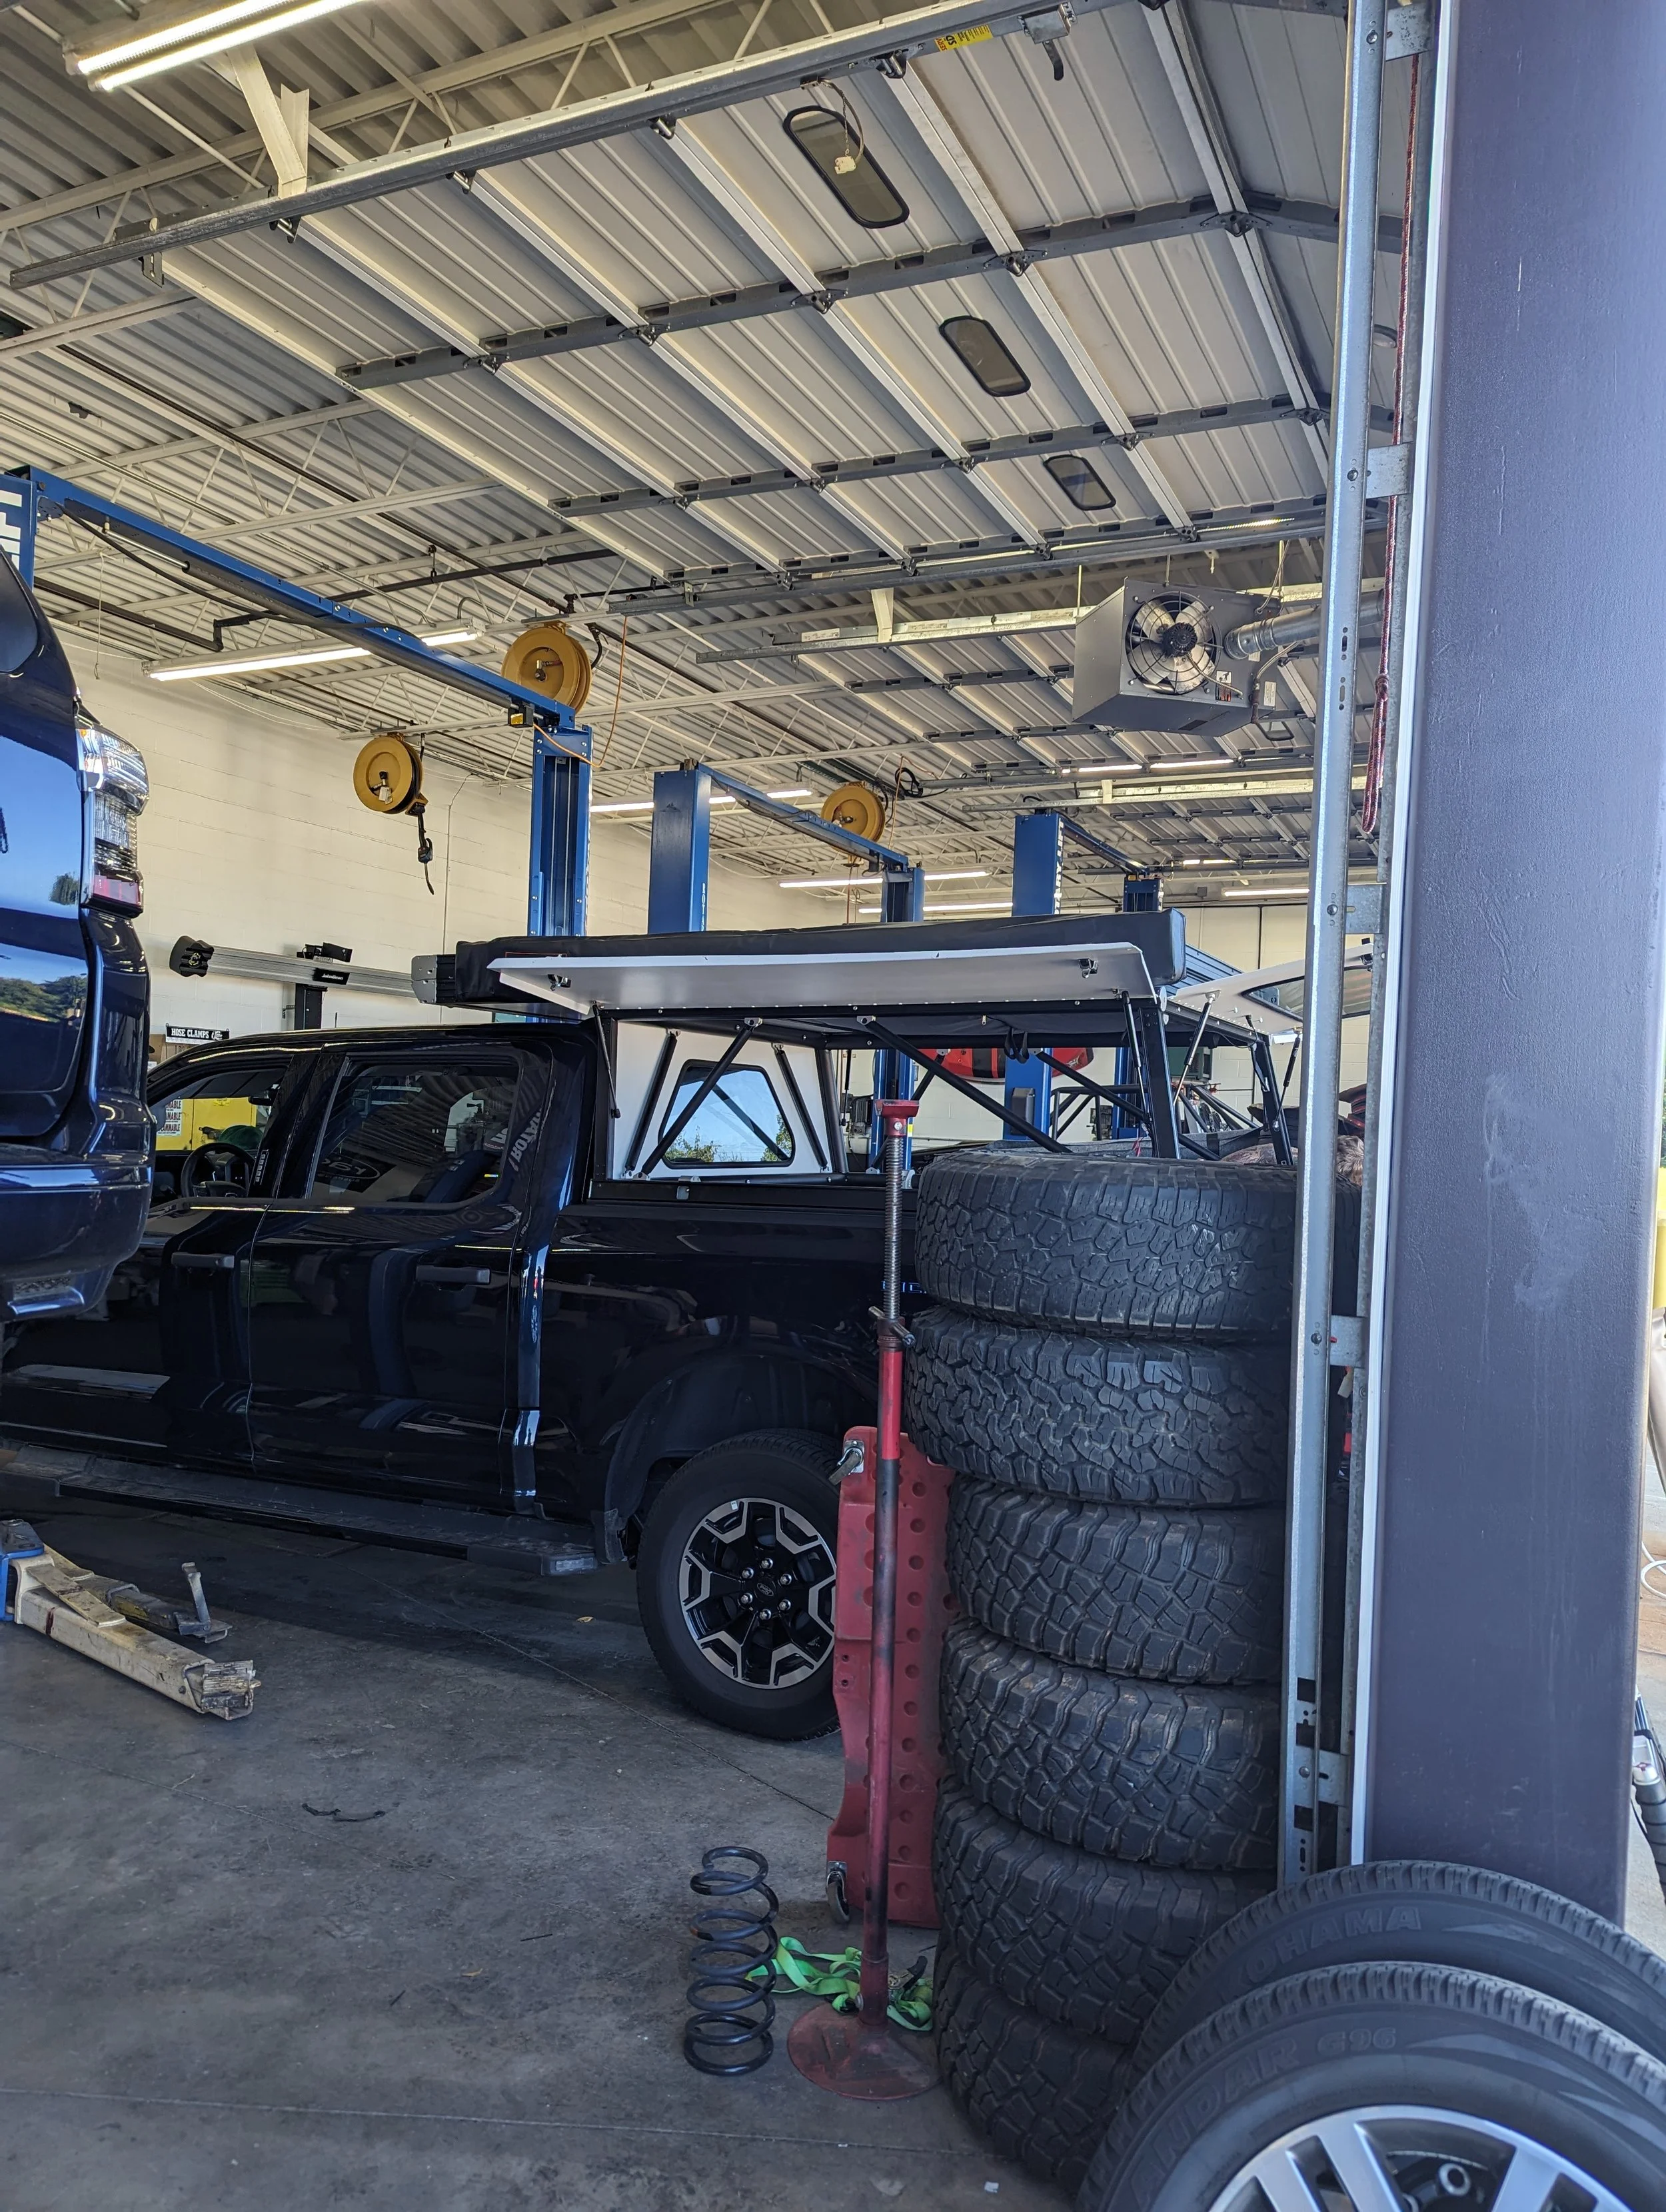
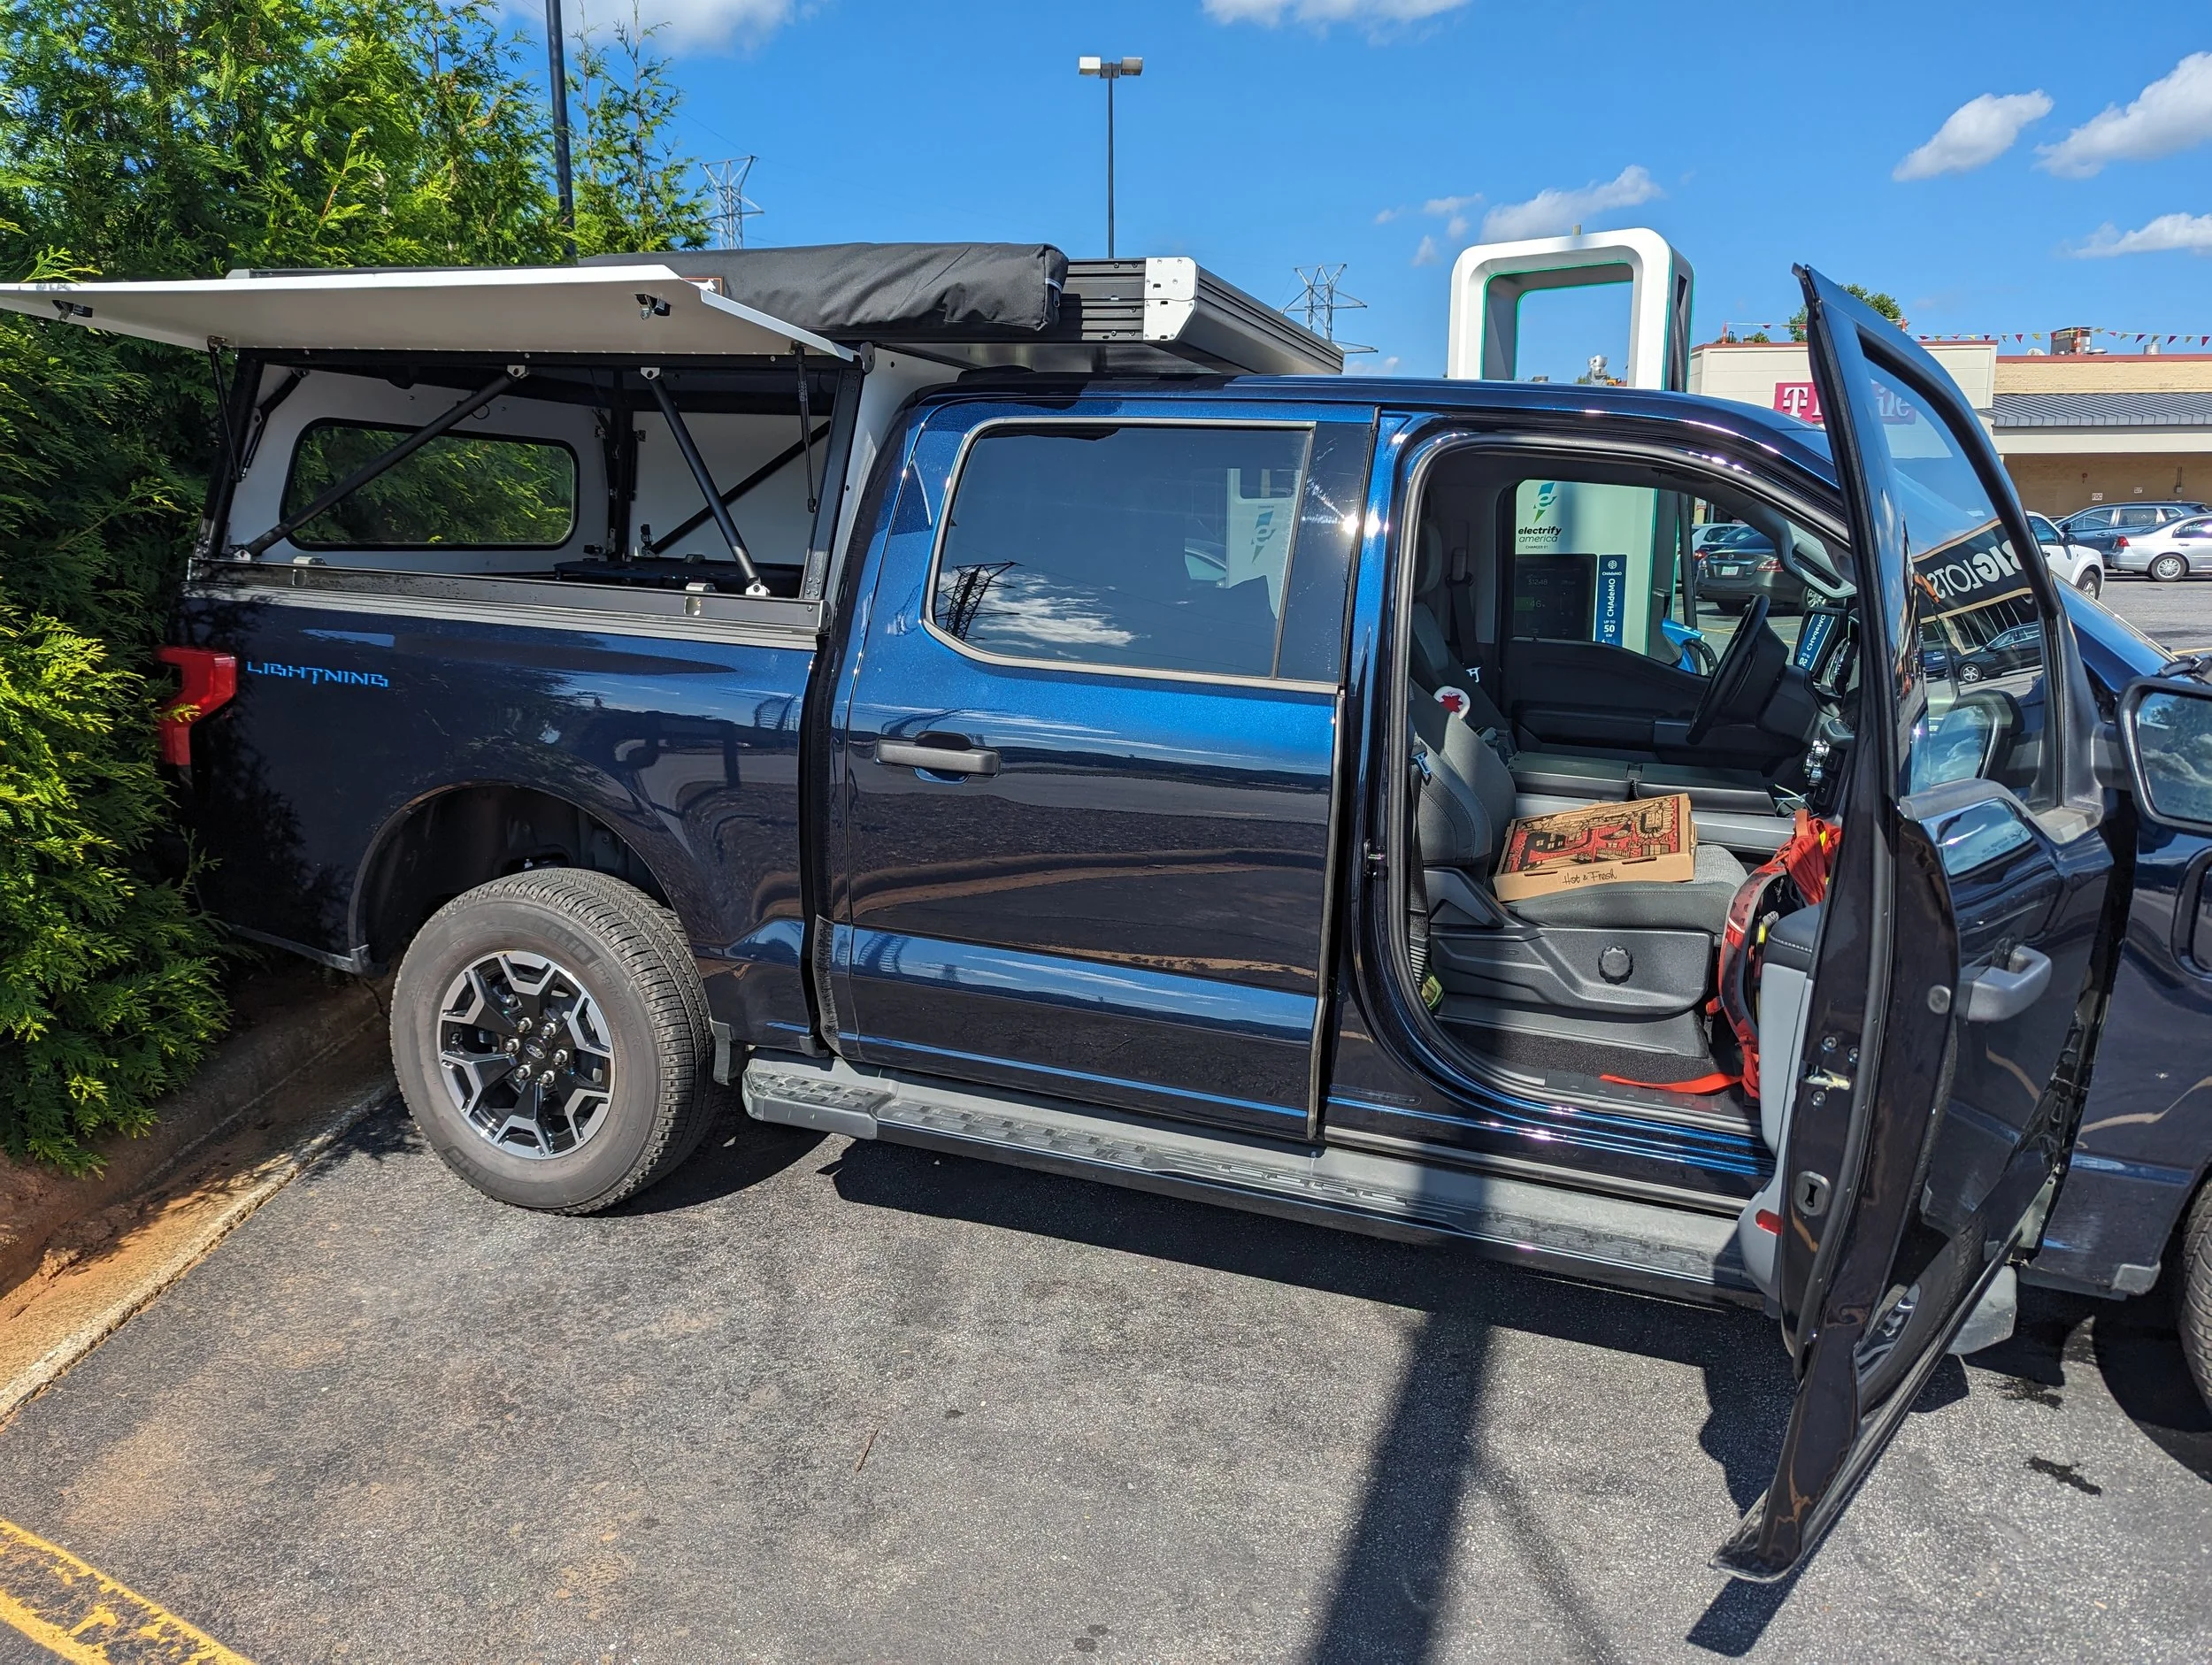

But, if you want to do it yourself, here are a few essential steps to ensure a secure, functional setup:
1. Prepare the Truck Bed
Clean and Clear: I spent the morning sweeping out bed debris and scrubbing the truck's back window—a step I highly recommend doing beforehand, because once that camper is clamped down, you won't be reaching that glass again anytime soon.
Seal the Gaps: I also ran a tailgate gasket using some leftover Ford points. If you do a lot of overlanding on dry, dusty fire roads, sealing up that tailgate gap is an absolute game-changer for keeping your internal gear clean.
2. Gather Mounting Hardware
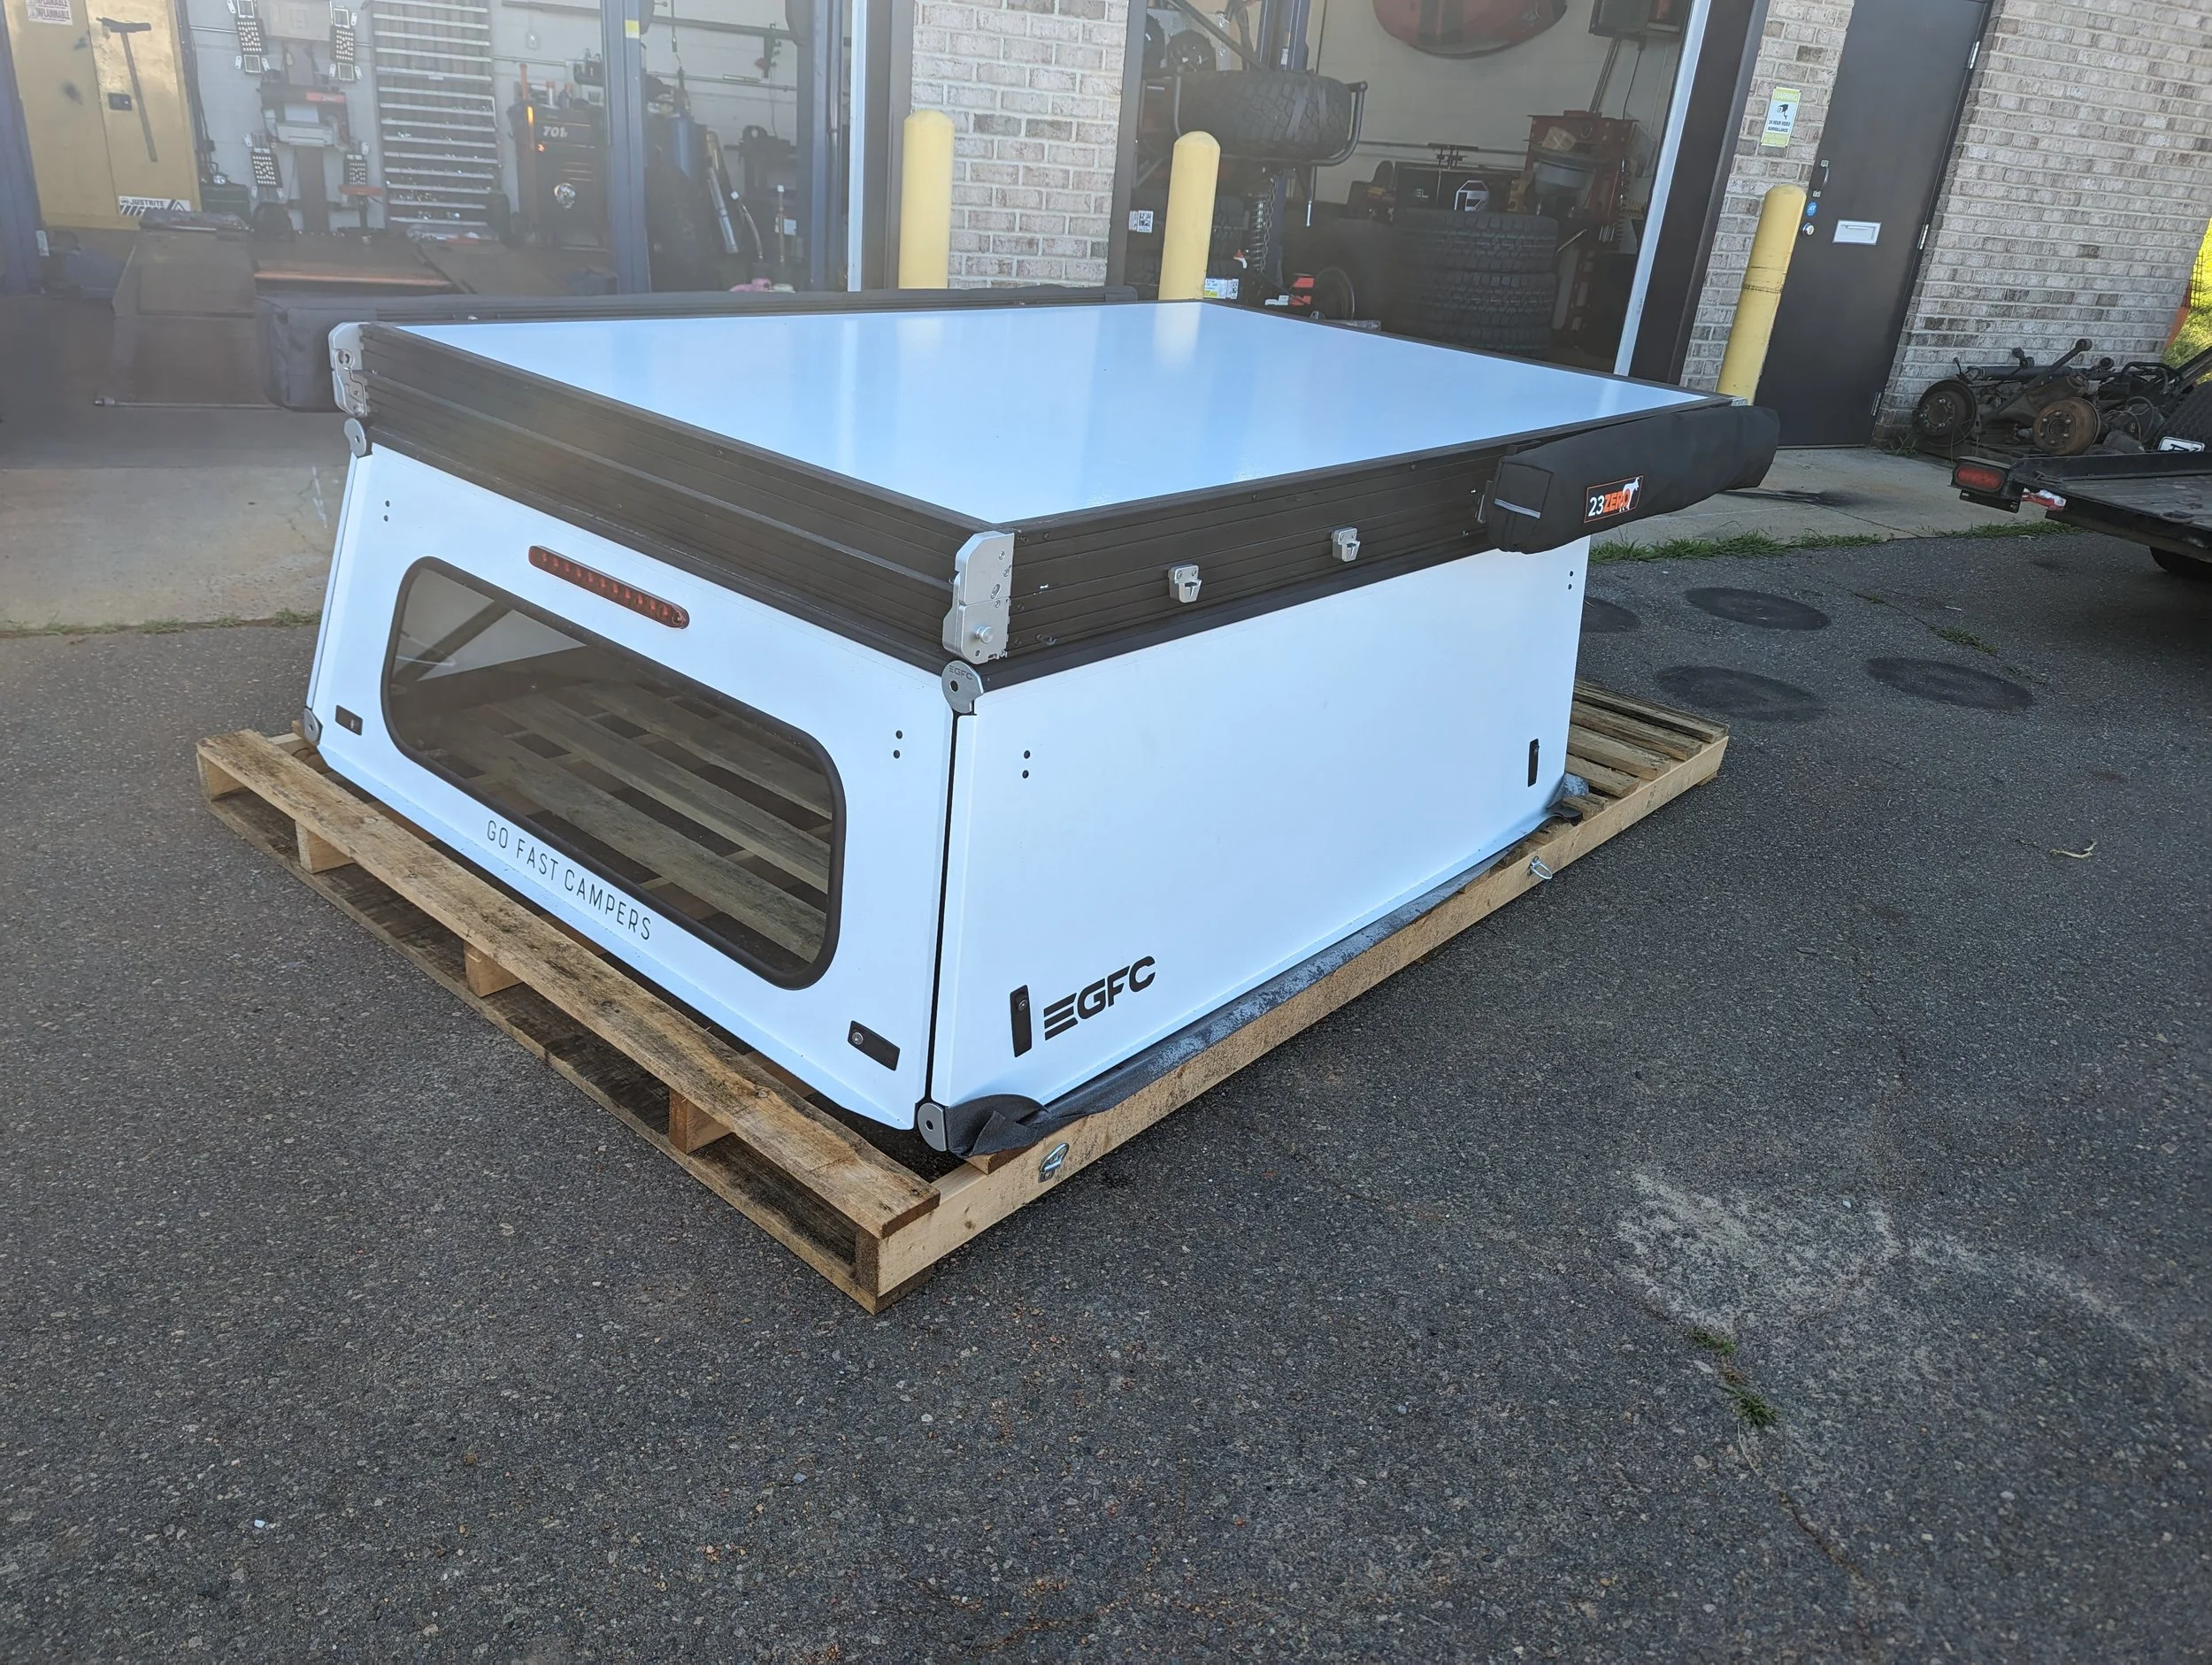
The Go Fast Camper comes with a custom mounting system designed for pickup beds.
Use the provided brackets, bolts, and clamps.
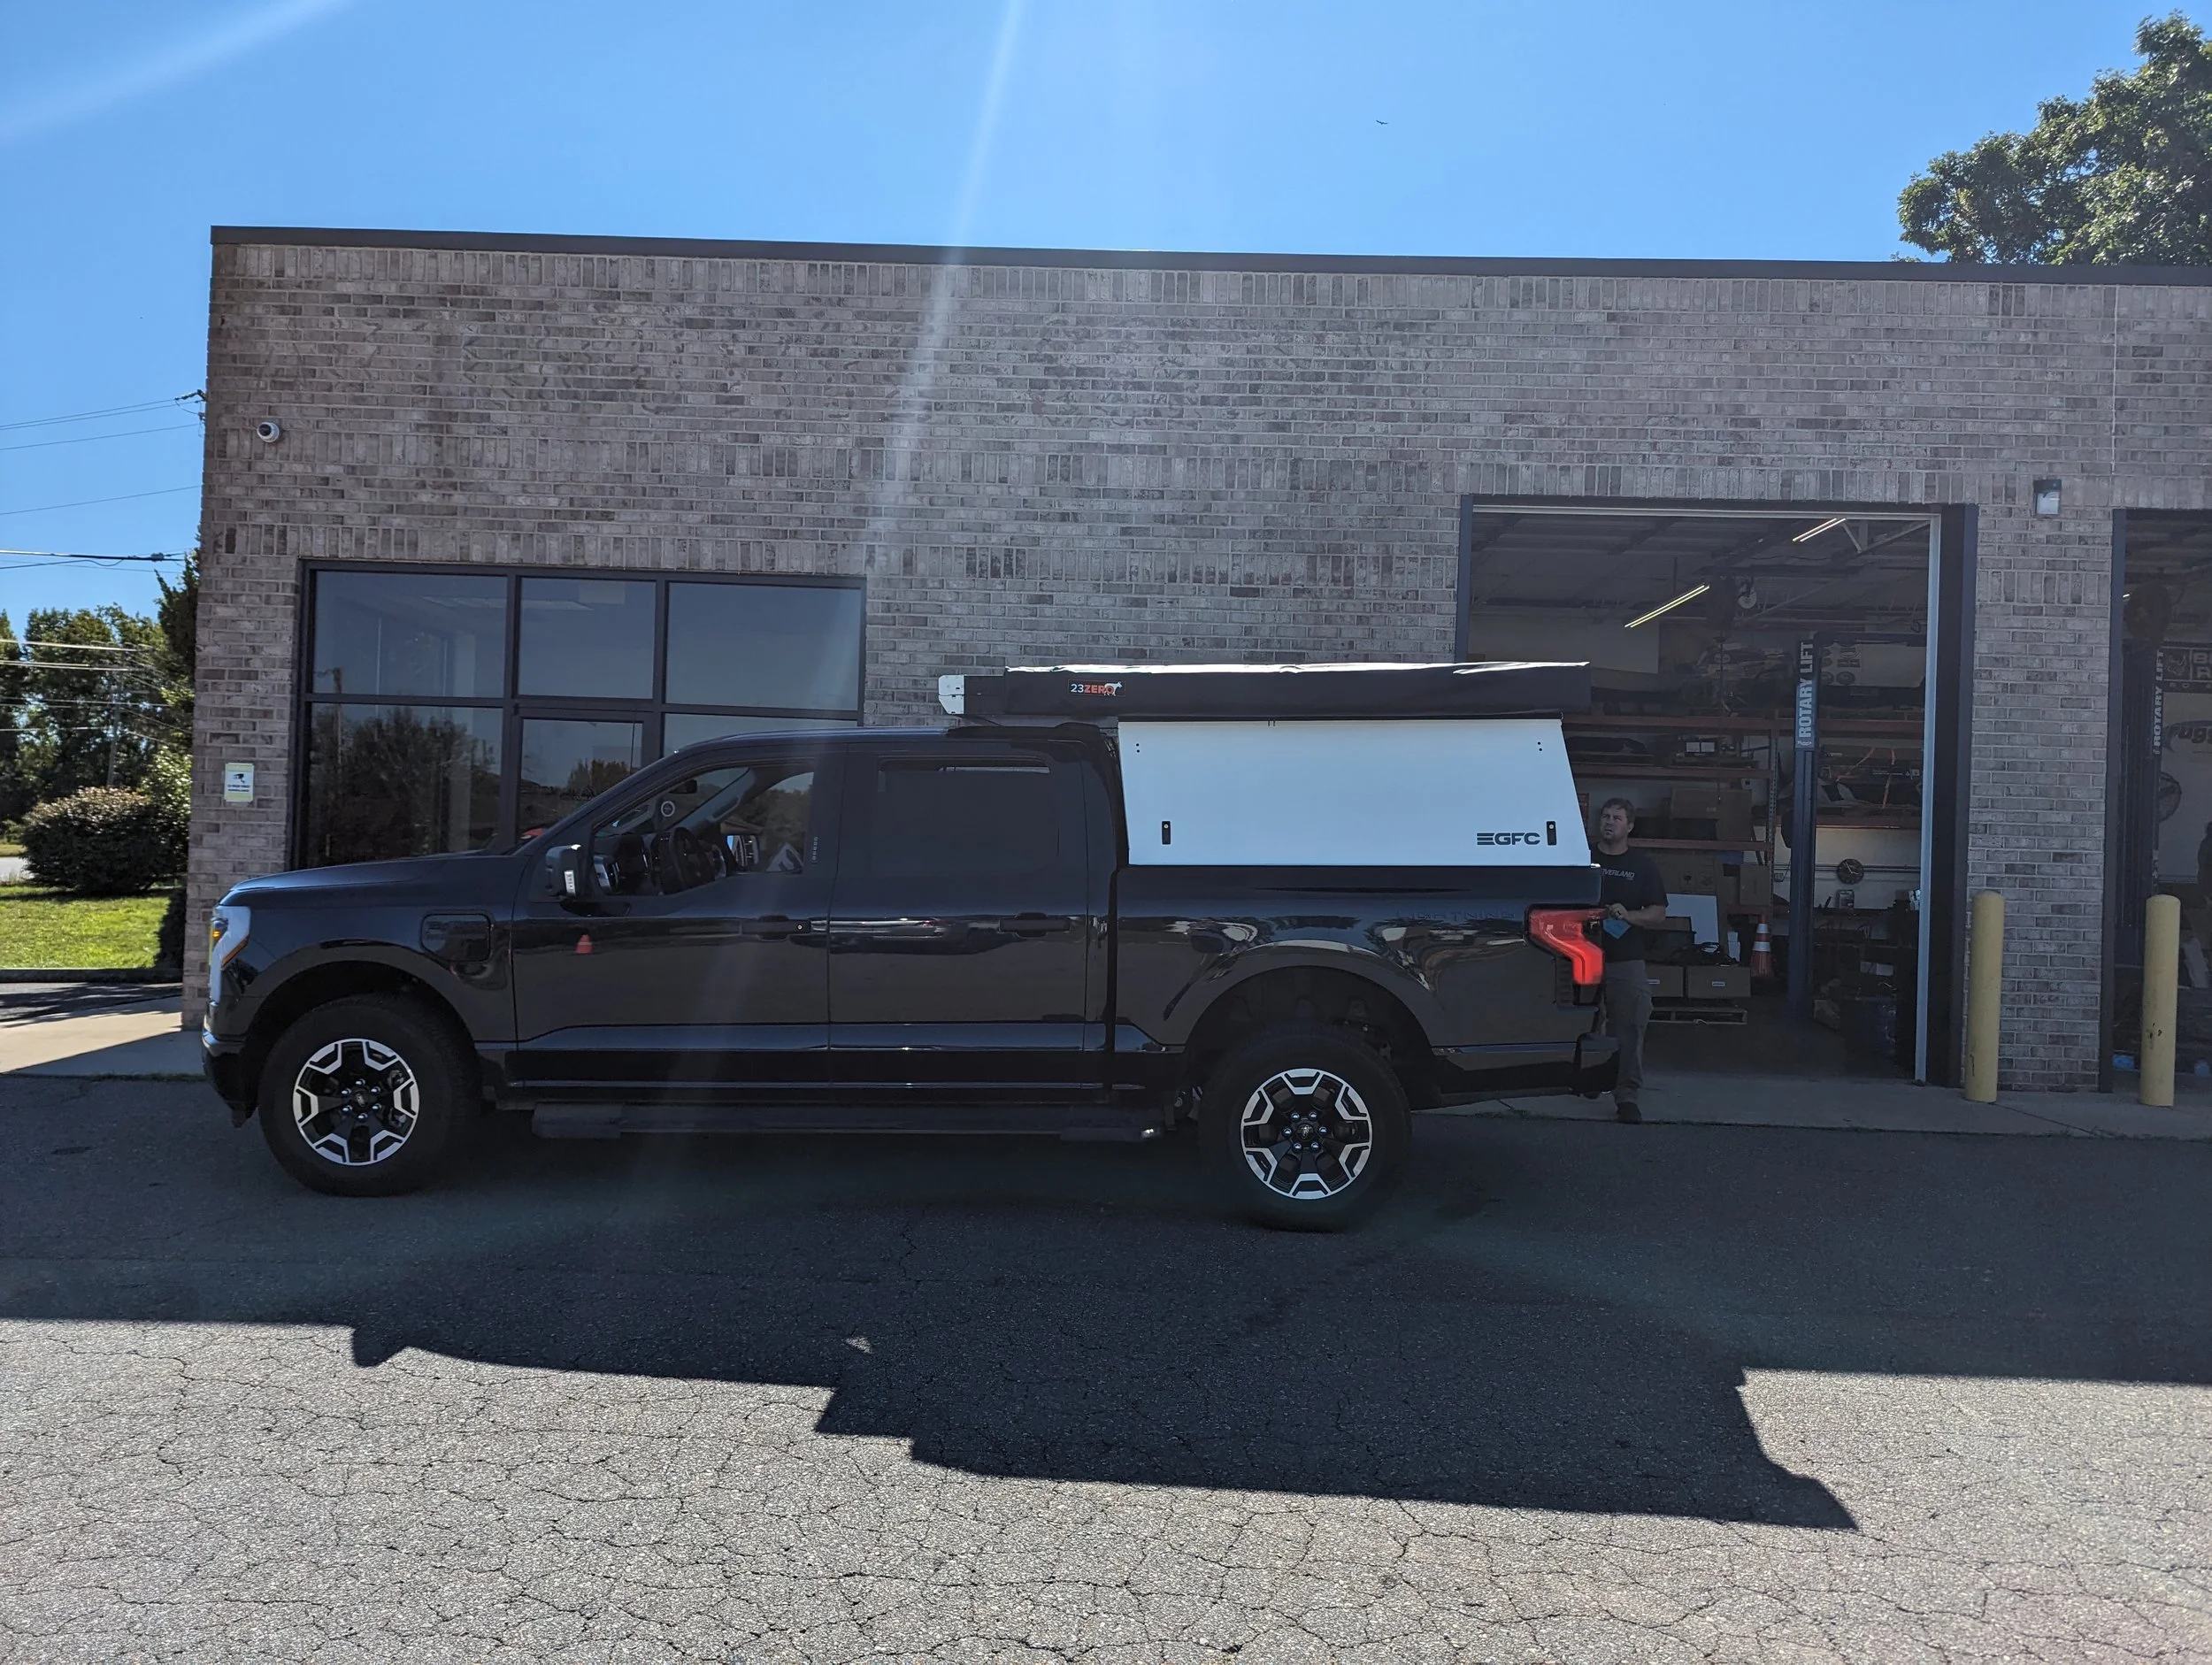
3. Position the Camper Base
Carefully place the Go Fast Camper base in the truck bed.
Align it so cab clearance and tailgate operation aren’t hindered.
4. Install Mounting Clamps or Bolts
Use the supplied clamps around the truck’s bed rails or direct bolt mounts into factory mounting points.
Ensure each clamp or bolt is tightened evenly to prevent twisting or shifting.
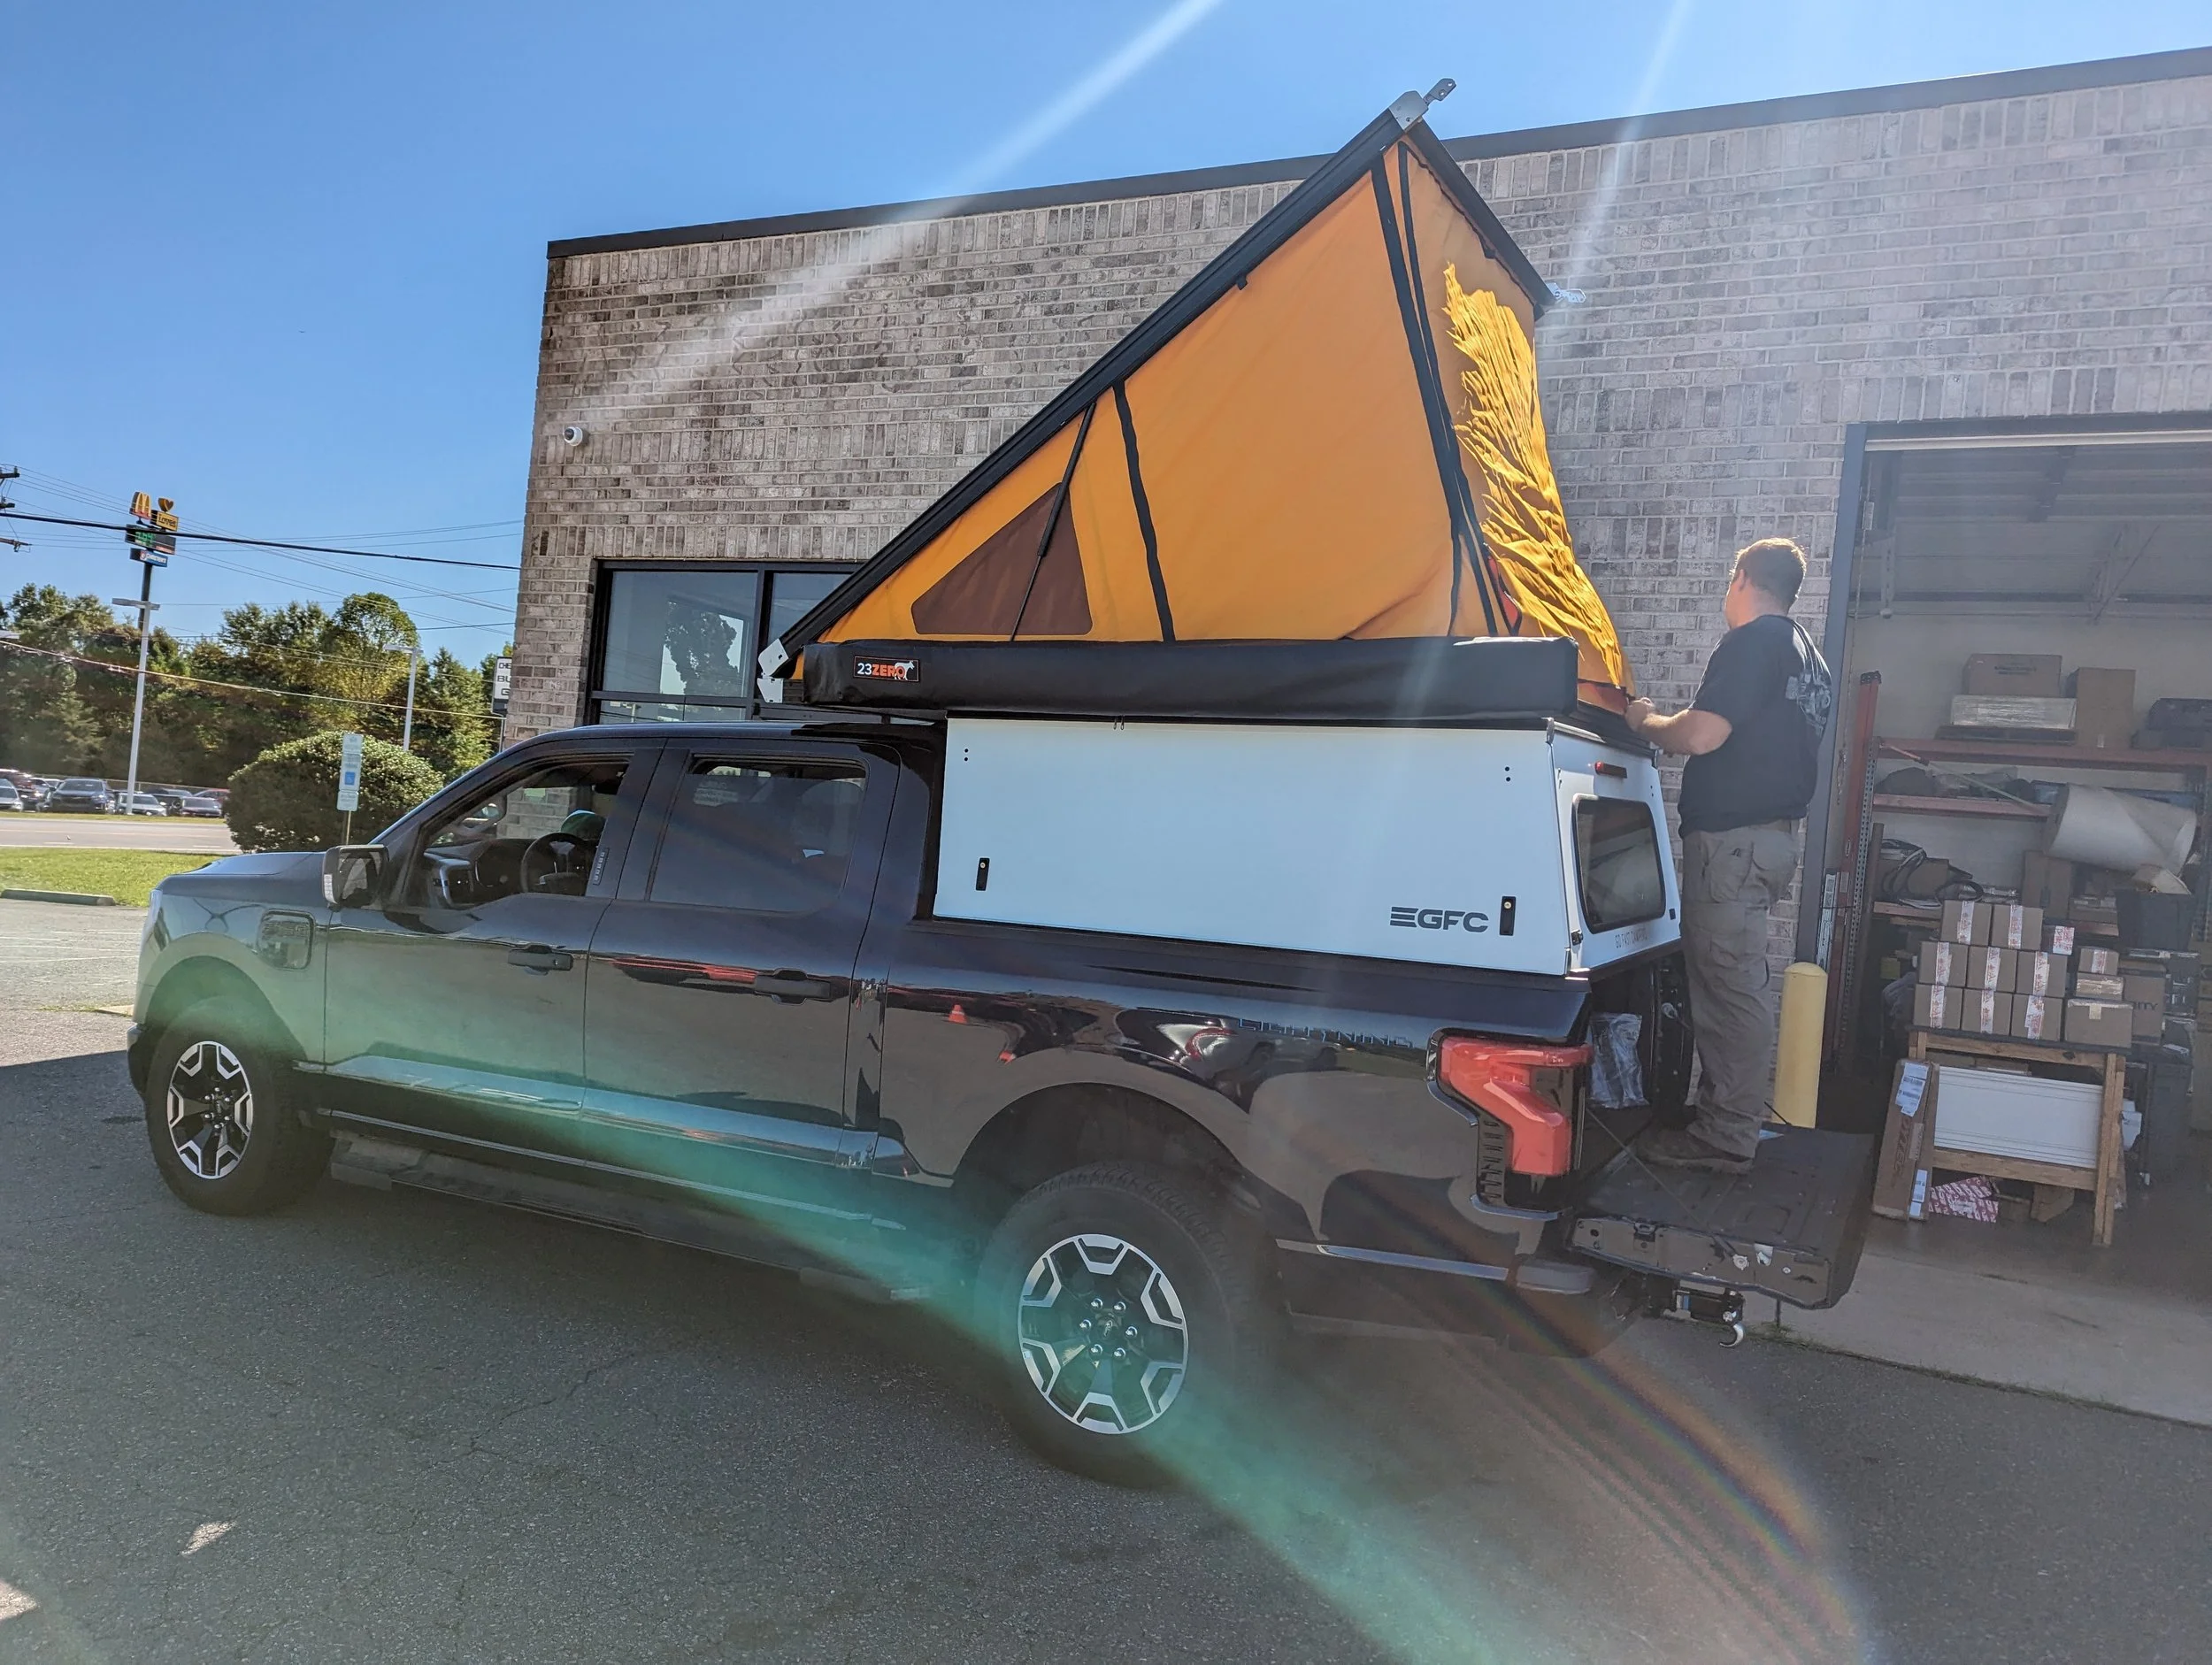
5. Secure the Camper to the Base
Lower the camper shell onto the base.
Lock or fasten the shell per manufacturer instructions, usually using cam locks or toggle clamps.
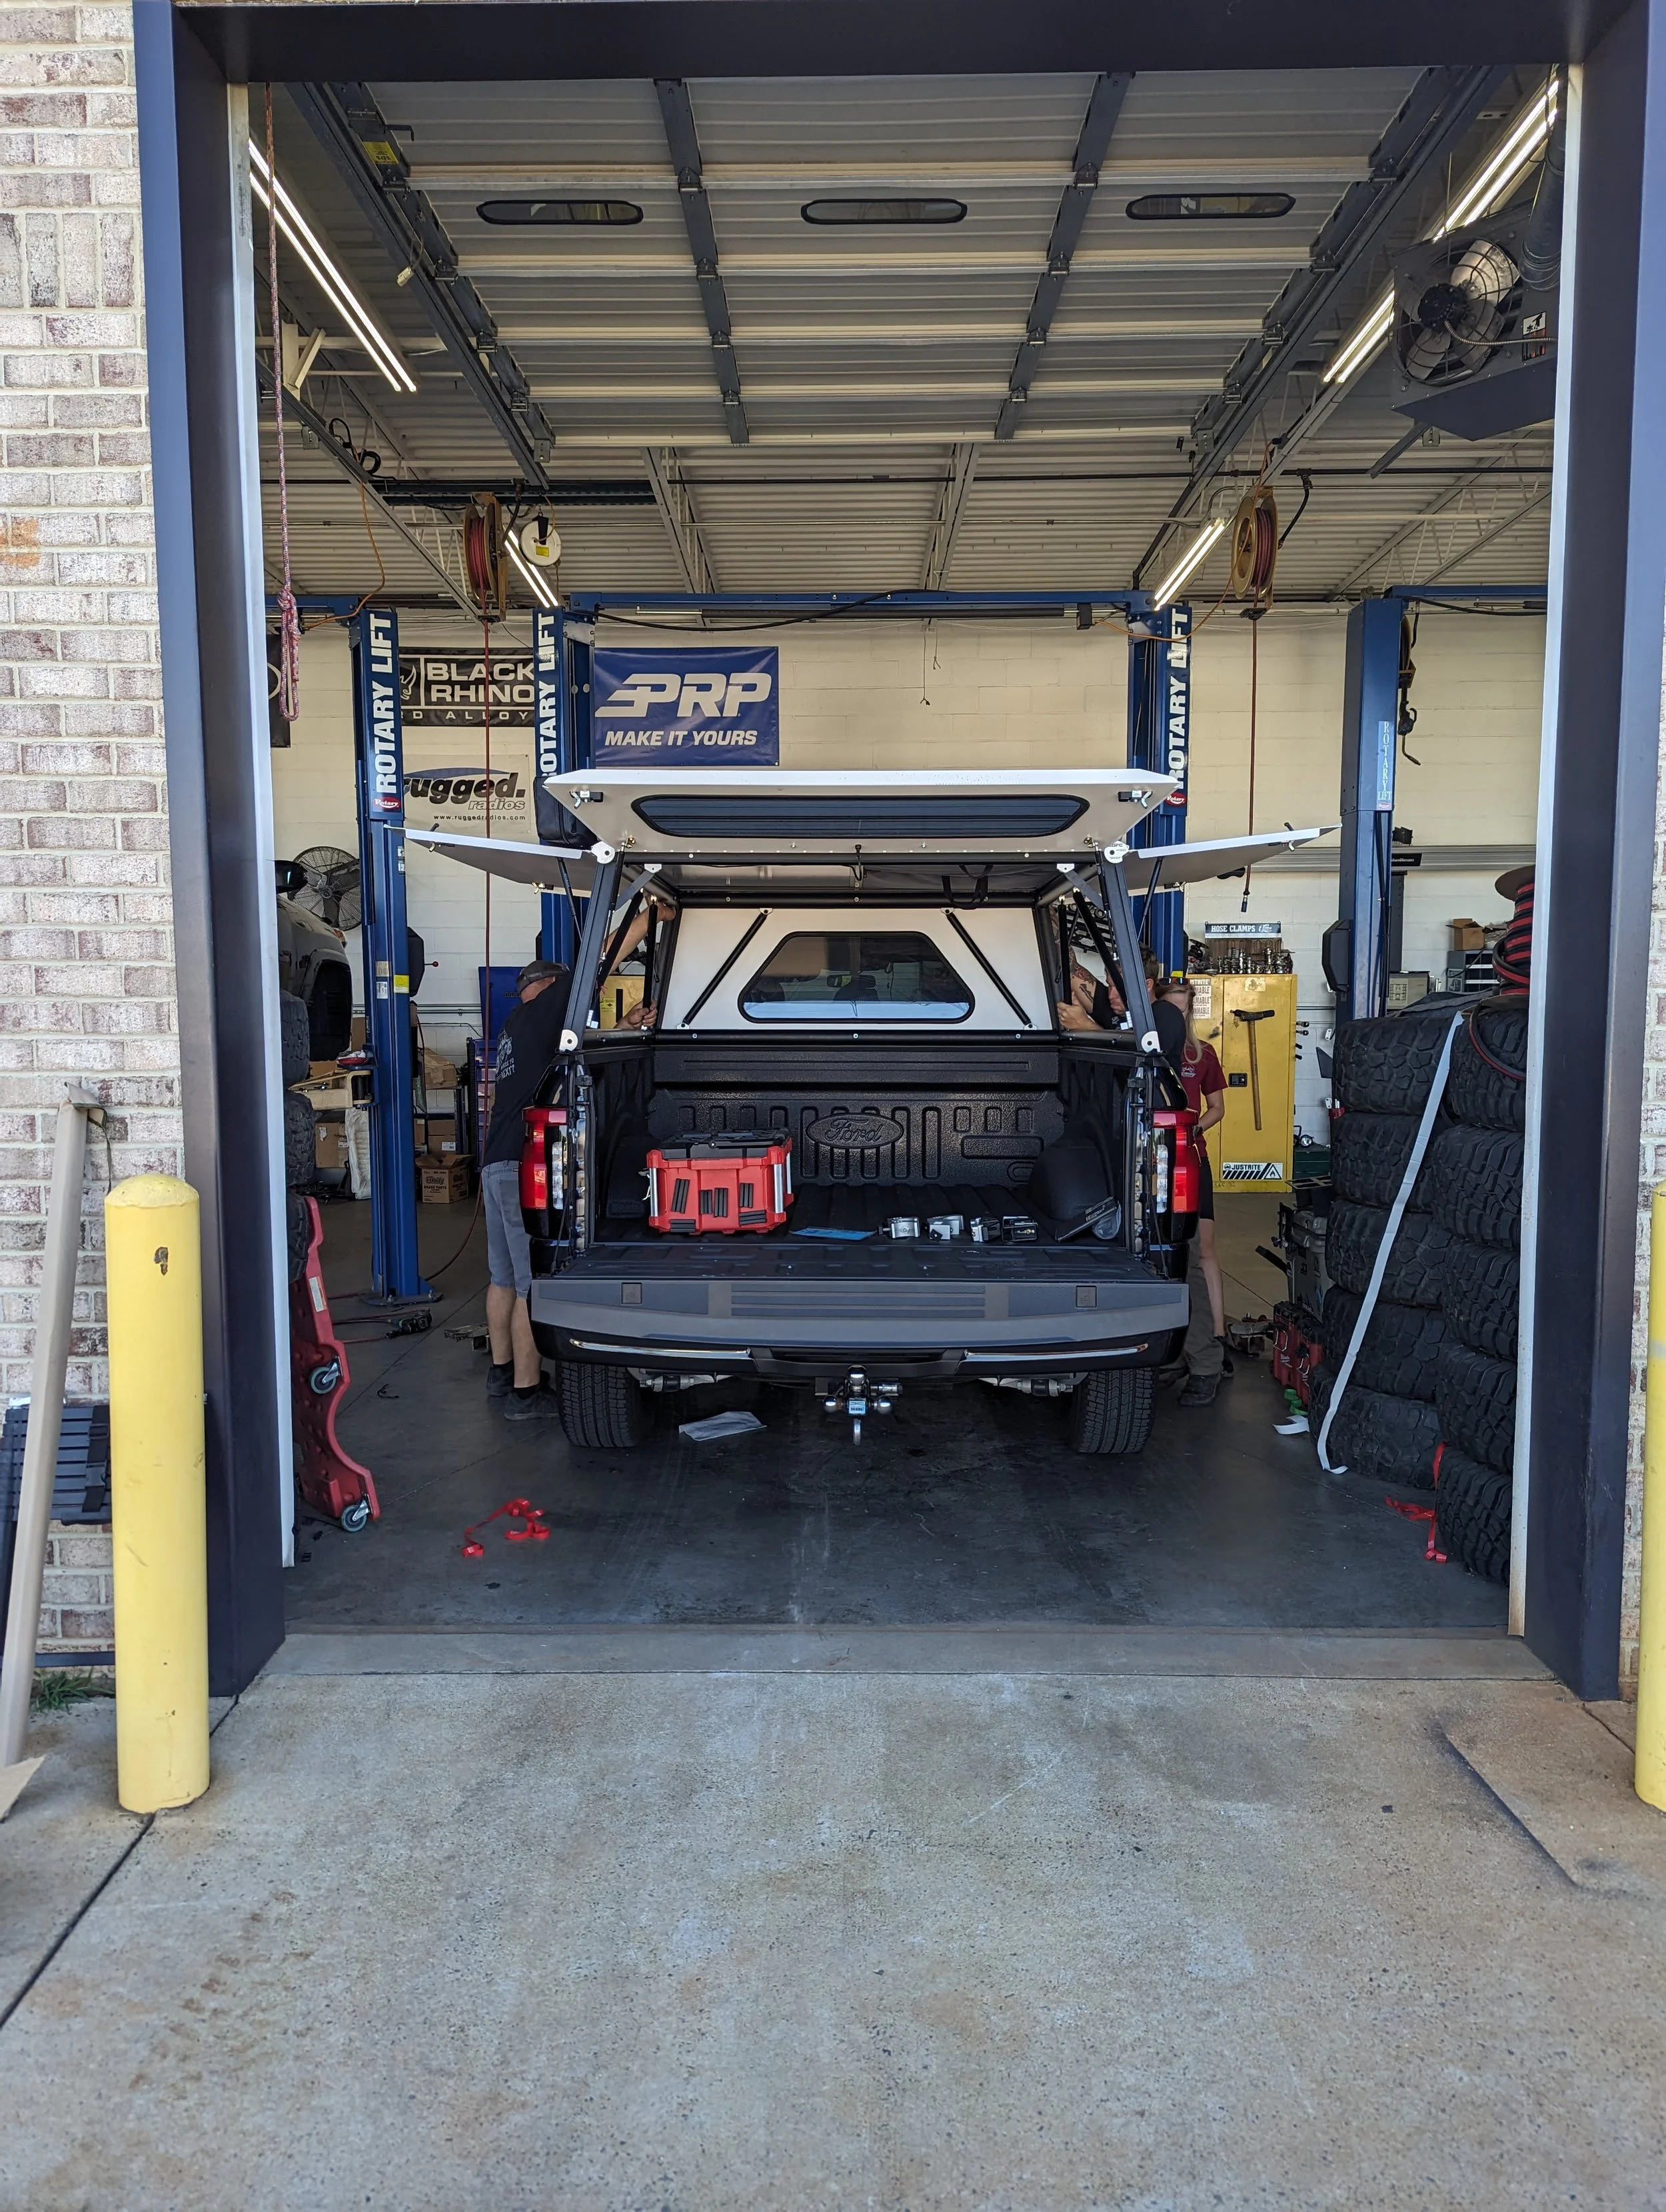
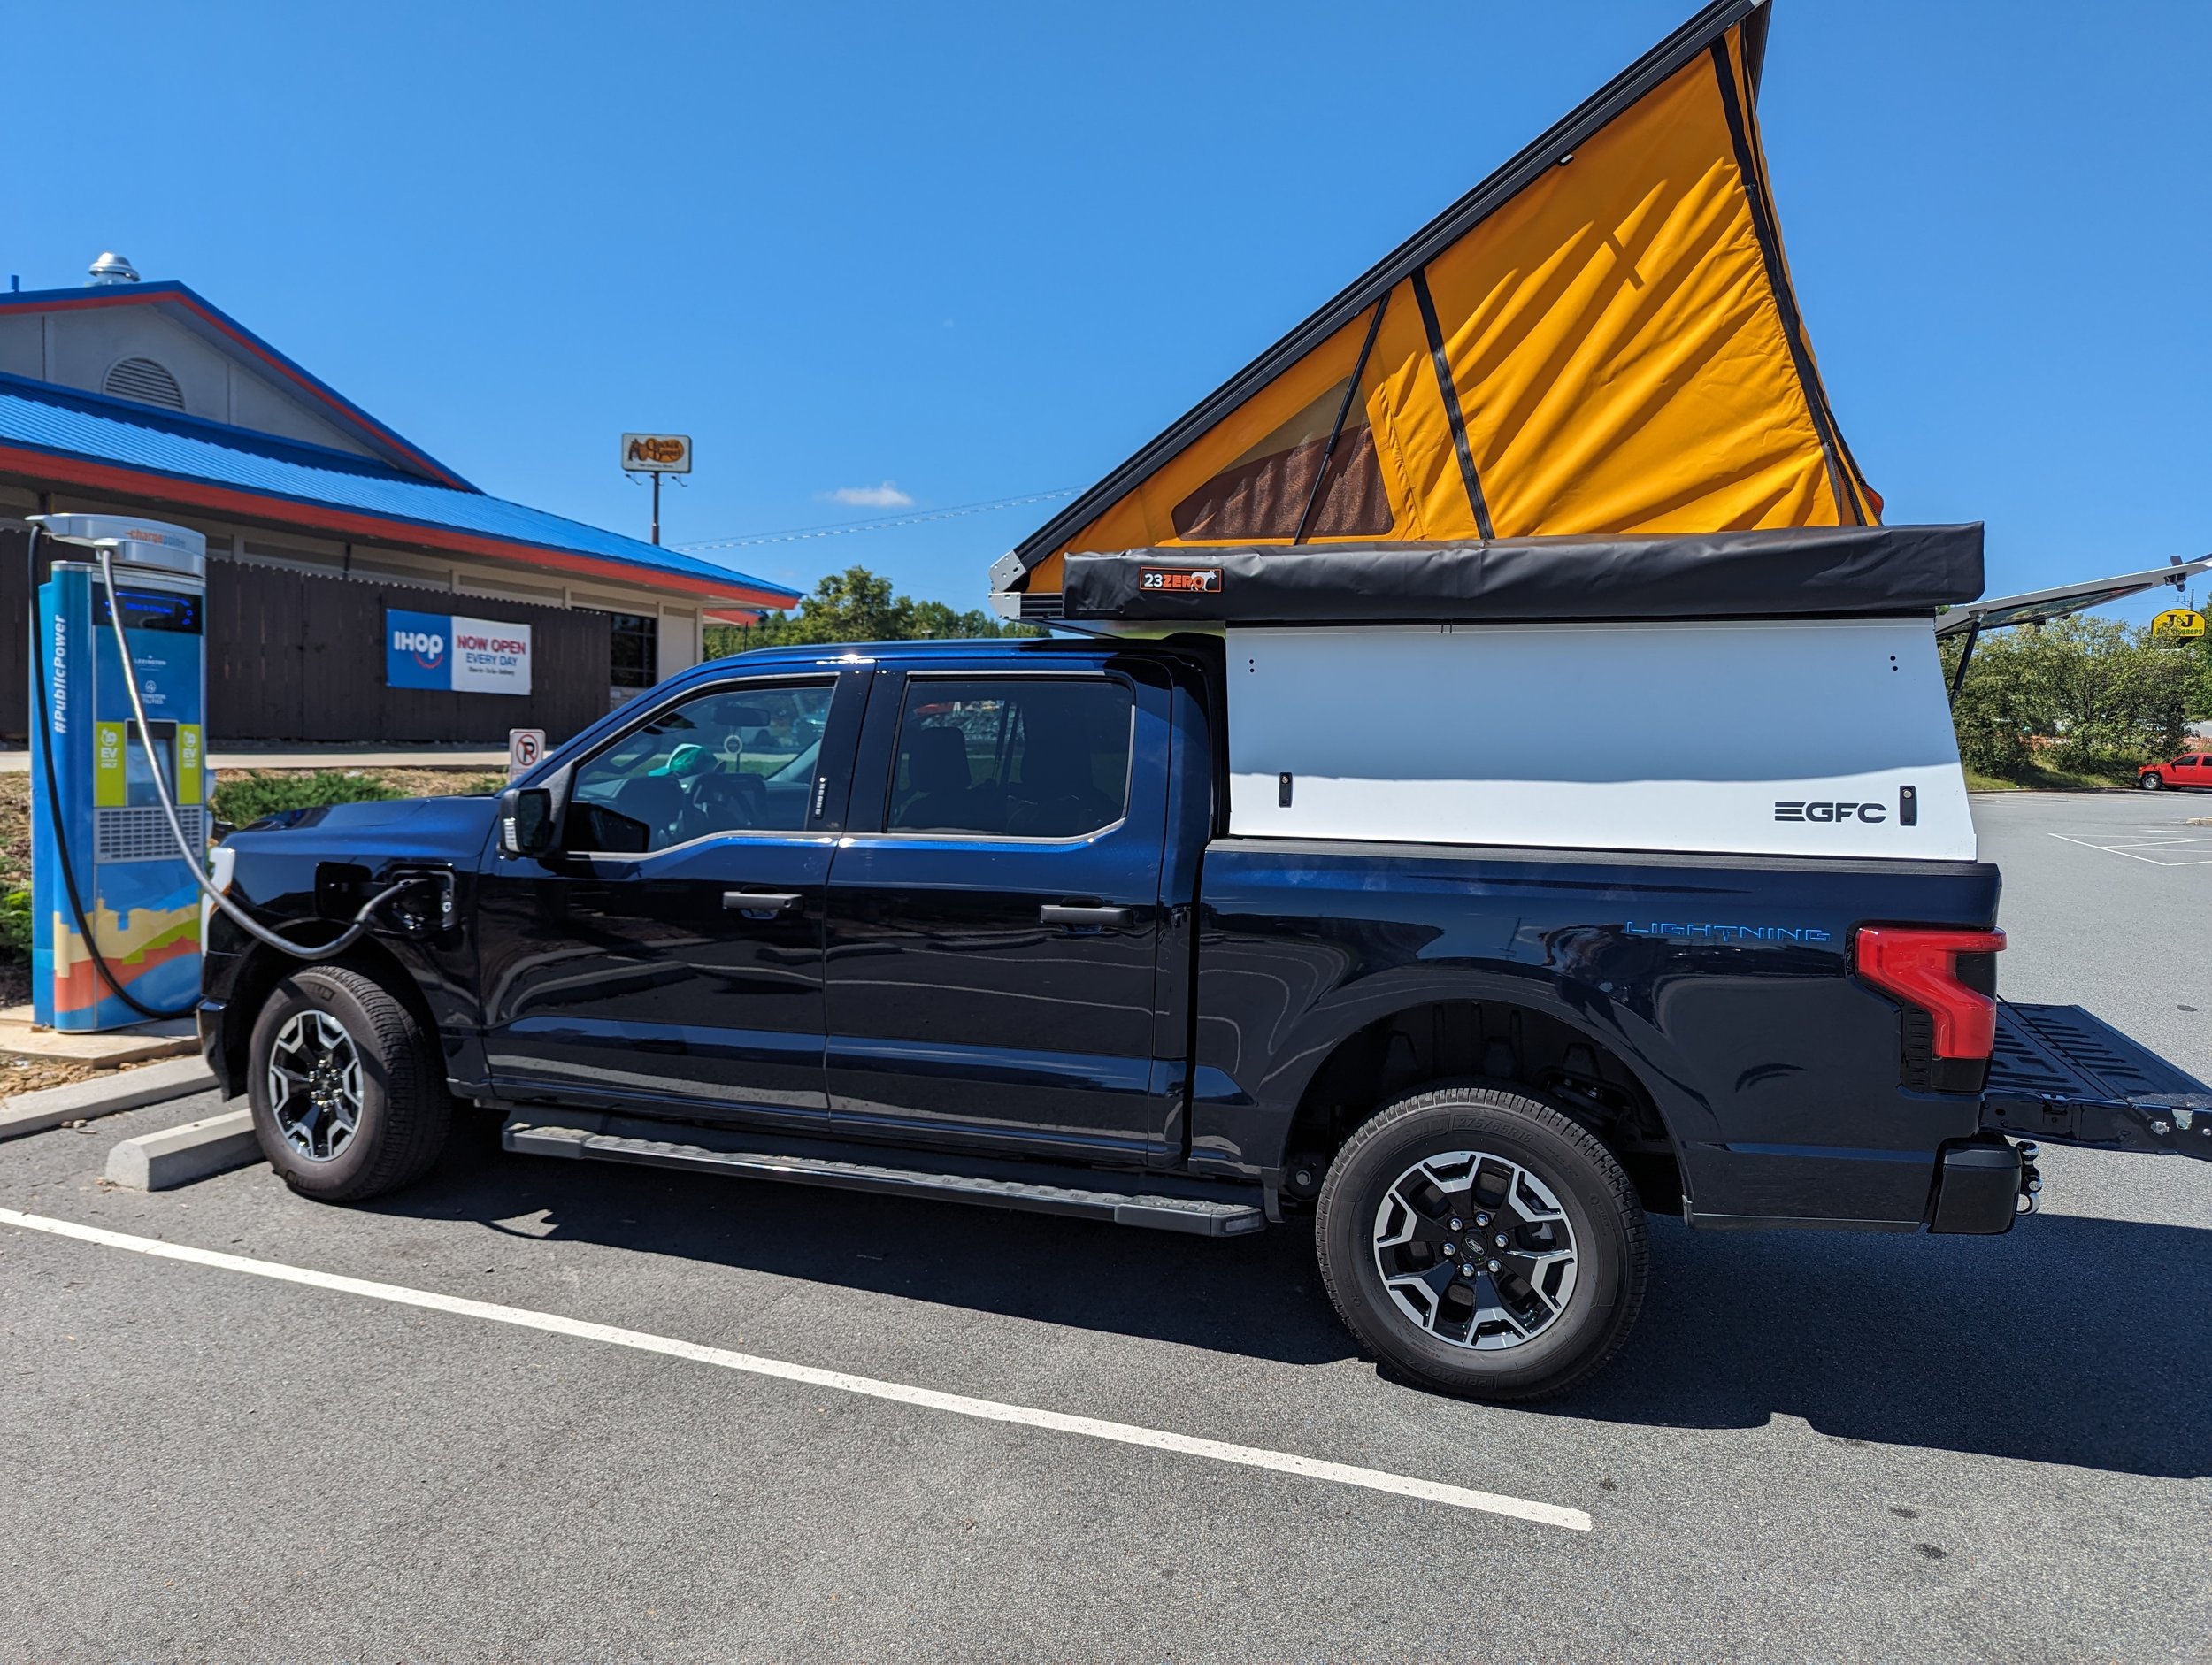
6. Connect Electrical Systems
Powering the Rig: While traditional setups often require wiring up complicated auxiliary batteries, your electric truck is basically a giant rolling generator. Instead of relying on a weak 12V outlet, you can plug your camper's system directly into the
Pro Power Onboard outlets in the bed to keep your lights, fans, or camp fridge completely juiced without breaking a sweat.
7. Test for Fit and Function
Open and close doors, hatches, and the tailgate.
Drive a short distance to check for noise, movement, or vibrations.
8. Add Sealant or Weatherproofing (if needed)
Apply rubber gaskets or weather stripping to prevent water intrusion around mounting points.
Pro Tips
Weight Distribution: The F-150 Lightning handles payload well, but stay within the recommended camper weight limits.
Access: Keep in mind how you’ll access gear while the camper is installed.
Charging: Utilize your truck’s onboard power for charging electric gear and camper batteries for an eco-friendly adventure.
By following these steps, your electric truck will become a green, go-fast home base ready for shredding trails, paddling rivers, or charging mountain summits!
If you are interested in my Setup or why I choose Electric Overlanding as a way to see North Carolina, check out more from my travel blog.